
Pre-Winter Roof Inspection: Critical Repairs to Complete by October
Ads
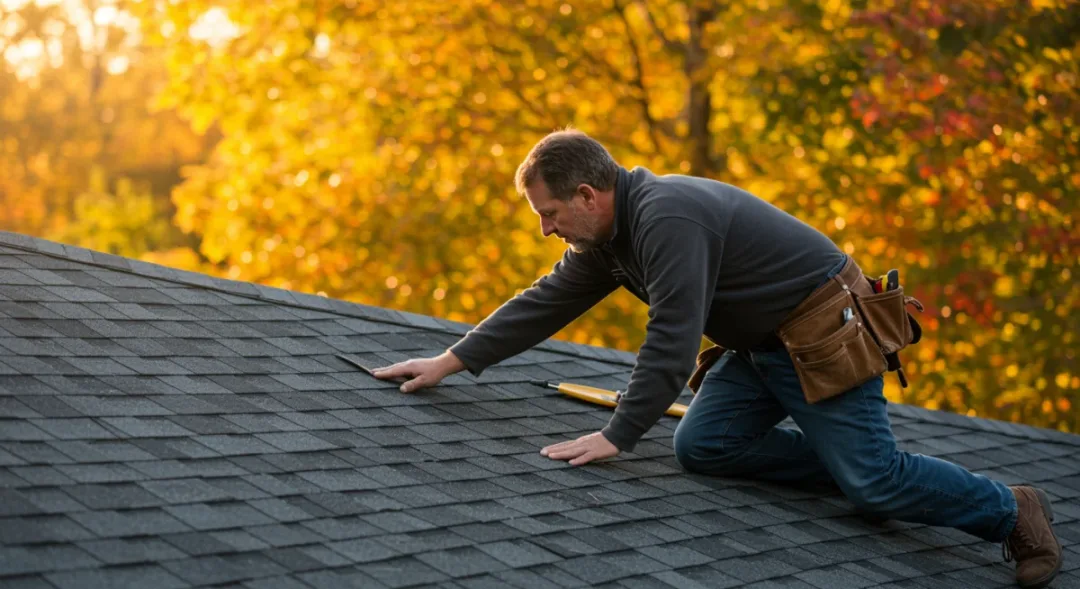
A comprehensive pre-winter roof inspection by October prevents costly leaks and structural damage during freezing months, ensuring shingles, flashing, gutters, and sealants are properly maintained.
Ads
As temperatures begin to drop and autumn settles across the United States, homeowners face a narrow window to prepare their properties for the harsh months ahead. Pre-Winter Roof Inspection stands as one of the most overlooked yet critical maintenance tasks that can mean the difference between a cozy winter indoors and a costly disaster involving water damage, mold growth, and structural compromise. October serves as the ideal deadline because weather conditions still allow for comfortable outdoor work while providing enough time to address any issues before freezing temperatures arrive and snow accumulation adds weight to vulnerable roofing structures.
Ads
Why October is the Deadline for Roof Repairs
The reasoning behind targeting October for roof repairs stems from practical meteorological and economic considerations. In most regions of the United States, November brings unpredictable weather patterns that can include early snowfalls, freezing rain, and temperatures that drop below freezing for extended periods. These conditions make outdoor roofing work dangerous, if not impossible, and materials like sealants and shingles require specific temperature ranges for proper installation and curing.
Waiting until December or January to address a leaking roof often results in emergency repairs that cost two to three times more than planned maintenance. Additionally, ice dams form when snow melts and refreezes at roof edges, creating water backups that force moisture under shingles and into living spaces. By completing repairs in October, homeowners avoid the compounding problems that arise when water infiltrates insulation, drywall, and wooden framing during freeze-thaw cycles.
Professional roofing contractors typically book their schedules weeks in advance, making early October the last opportunity to secure reliable service before the winter rush. Those who delay often find themselves facing limited options, inflated prices, or unqualified workers willing to take emergency calls. Planning ahead ensures access to quality craftsmanship while weather conditions remain favorable for thorough inspections and repairs.
Weather Considerations for Timing Repairs
- Optimal temperatures for shingle installation range between 40 and 85 degrees Fahrenheit
- Sealants require at least 48 hours of dry weather for proper curing
- High winds during storms can damage loose shingles before winter arrives
- Early morning dew creates slippery conditions, so afternoon scheduling works best
Understanding these factors helps homeowners communicate effectively with contractors and set realistic expectations for project timelines. A reputable roofer will monitor weather forecasts and recommend scheduling adjustments when necessary to ensure work quality.
Inspecting Shingles and Roofing Materials
The most visible component of any roof, shingles take the brunt of weather exposure year after year. During a pre-winter inspection, homeowners should systematically examine all shingle types, whether asphalt, wood, metal, or tile, looking for signs of deterioration that worsen under winter conditions. Missing shingles create immediate entry points for water, while cracked or curled shingles allow wind-driven rain to penetrate underneath and reach the underlying deck.

Granule loss represents another critical indicator of shingle health. As asphalt shingles age, they shed the protective granules that shield against UV radiation and impact damage. Finding accumulated granules in gutters or at downspout exits suggests significant wear that compromises the shingle’s effectiveness. While some granule loss is normal over a roof’s lifespan, excessive shedding during autumn warrants professional evaluation before winter storms arrive.
Walking on a roof requires proper safety equipment and experience, so many homeowners benefit from hiring professional inspectors who can assess hard-to-reach areas without risking injury. Those who choose to conduct their own inspections should use binoculars from ground level for initial assessments and only climb onto the roof with appropriate fall protection if confident in their abilities.
Common Shingle Problems to Address
- Missing, cracked, or blistered shingles requiring replacement
- Loose shingles along edges and ridges that wind can lift
- Granule accumulation in gutters indicating advanced wear
- Algae or moss growth retaining moisture against roofing materials
- Sagging areas suggesting underlying structural damage
Addressing shingle problems before winter prevents the escalation of small issues into major leaks. The cost of replacing a few damaged shingles pales in comparison to repairing water-damaged interiors or replacing entire roofing sections compromised by undetected leaks.
Checking Flashing and Sealants
While shingles form the visible outer layer, flashing and sealants work behind the scenes to prevent water infiltration at vulnerable intersections. Chimneys, skylights, vent pipes, and wall junctions all require properly installed flashing that directs water away from these penetration points. Over time, flashing can corrode, loosen, or separate from adjacent surfaces, creating channels for water entry that may not become apparent until interior damage appears.
Sealants around these penetrations also degrade under UV exposure and temperature fluctuations. Checking caulk lines for cracks, gaps, or complete separation should occur during every pre-winter inspection. Modern polyurethane and silicone sealants provide excellent adhesion when properly applied, but even the best products require reapplication every few years to maintain effectiveness.
Homeowners should pay particular attention to flashing around chimneys, as the heat cycling from fireplace use creates expansion and contraction that loosens fasteners and degrades sealants. Similarly, satellite dish installations, antenna mounts, and other rooftop equipment create penetrations that often receive inadequate flashing treatment during installation.
Flashing Inspection Checklist
- Inspect chimney flashing for rust, gaps, or separation from brickwork
- Check vent pipe flashing for cracked boots or displaced bases
- Examine skylight perimeters for deteriorated sealants or damaged flashing
- Look for signs of previous leaks on interior ceilings near roof penetrations
- Verify step flashing along dormer walls remains properly integrated with siding
Replacing damaged flashing and resealing penetration points costs significantly less than repairing water-damaged interiors or remediating mold growth resulting from undetected leaks. These relatively small investments provide substantial protection against winter weather events.
Clearing Gutters and Downspouts
Gutters and downspouts perform essential functions in directing water away from foundations, but they only work when clear and properly configured. Autumn’s falling leaves create significant clogging risks, and many homeowners underestimate the amount of debris that accumulates in gutter systems over just a few weeks. Clogged gutters cause water to overflow, saturating foundation soils and potentially flooding basements or crawl spaces.
More critically for roof health, clogged gutters contribute to ice dam formation. When water cannot escape through downspouts, it pools in gutters and freezes when temperatures drop. This ice buildup extends upward under shingles, creating the conditions for water to back up beneath roofing materials and into homes. Installing gutter guards reduces debris accumulation but does not eliminate the need for periodic cleaning and inspection.
Downspout extensions should direct water at least three feet from foundation walls, with longer runs recommended in areas with clay soils that expand when wet. Ensuring proper grading and functional extensions prevents water from collecting around foundations where it can cause structural damage over time.
Gutter Maintenance Best Practices
- Clean gutters at least twice yearly, including after autumn leaf drop
- Inspect for leaks, sagging sections, or separated joints
- Verify downspouts direct water away from foundations
- Check that gutters slope correctly toward downspouts
- Consider installing leaf guards in heavily tree-shaded areas
While cleaning gutters involves working at heights, the relative simplicity of the task makes it suitable for DIY efforts with proper safety precautions. Those uncomfortable with ladder work should budget for professional gutter cleaning services, which typically cost less than emergency foundation repairs.
Examining Roof Vents and Chimneys
Proper attic ventilation significantly impacts roof longevity and energy efficiency. Roof vents, including soffit vents, ridge vents, and powered attic fans, allow hot air to escape during summer and warm air to exit during winter. When ventilation becomes blocked by debris, insulation, or animal nests, heat and moisture accumulate, leading to ice dam formation, reduced shingle lifespan, and elevated energy costs.
Chimneys require particular attention, as they penetrate roofing materials at multiple points and experience significant temperature fluctuations during heating season use. Brick chimneys may develop mortar deterioration that allows water infiltration, while metal chimneys can suffer corrosion or damage from animal activity. Checking chimney caps prevents debris entry while still allowing smoke ventilation.
Interior signs of ventilation problems often appear before attic inspection becomes possible. Staining on interior ceilings, peeling paint, excessive ice accumulation on roof edges, andUneven heating throughout the home all suggest ventilation issues that warrant investigation before winter arrives.
Ventilation System Components to Inspect
- Soffit vents for blockage from insulation or debris
- Ridge vents for proper installation and gap coverage
- Gable vents for unrestricted airflow
- Attic fans for operational functionality
- Chimney caps for damage or missing components
Addressing ventilation issues before winter reduces energy costs and extends roof lifespan. The relatively modest investment in ensuring proper airflow pays dividends throughout the heating season.
Addressing Small Leaks Before They Worsen
Many homeowners make the mistake of ignoring small roof leaks, reasoning that minor staining or dampness does not warrant immediate attention. This approach invariably leads to larger problems, as water follows the path of least resistance and often travels significant distances from the original entry point before becoming visible inside homes. By the time interior damage appears, the actual leak location may be difficult to locate and the extent of water infiltration far exceeds initial appearances.
Attic inspections during daytime rain events reveal active leaks more clearly than interior observations. Accessing the attic with a flashlight while rain falls allows homeowners to observe water infiltration points directly. Staining, dampness, or mold growth on attic framing or insulation indicates previous leaks that require investigation, even when interior ceilings appear unaffected.
Documenting leak locations with photographs helps contractors prioritize repairs and provides reference points for insurance purposes if damage escalates. Maintaining records of roof maintenance and repairs also strengthens home value documentation and supports insurance claims when necessary.
Signs of Hidden Roof Leaks
- Water stains on ceilings or walls, particularly after rainfall
- Musty odors indicating mold or mildew growth
- Peeling or bubbling paint from moisture exposure
- Soft or sagging drywall areas
- Unexplained increases in energy bills from wet insulation
Taking immediate action at the first sign of leakage prevents the exponential cost increases that accompany prolonged water exposure. The difference between a $200 repair and a $5,000 restoration often comes down to how quickly homeowners respond to initial warning signs.
Professional vs. DIY: When to Call a Contractor
While many aspects of roof maintenance lend themselves to DIY efforts, certain situations clearly warrant professional intervention. Complex repairs involving multiple shingle types, extensive flashing work, or structural concerns require experienced contractors with appropriate insurance, equipment, and expertise. Attempting these projects without proper training increases injury risk and may result in improper repairs that fail prematurely.
Professional roofers bring diagnostic skills developed through years of experience, identifying issues that untrained observers miss. They understand building code requirements, material compatibility, and installation best practices that ensure repairs meet manufacturer specifications and maintain warranty coverage. Additionally, reputable contractors carry liability insurance that protects homeowners from financial responsibility for worker injuries or property damage during repairs.
For homeowners comfortable with basic maintenance, performing visual inspections, cleaning gutters, and addressing minor issues independently makes sense. However, any repair involving working at heights, structural modifications, or specialized materials should involve professional contractors. The cost difference between DIY errors and professional installation often exceeds the savings from avoiding contractor fees.
Choosing the Right Roofing Contractor
- Verify licensing and insurance coverage before hiring
- Request written estimates from multiple contractors
- Check references and online reviews from previous customers
- Ensure warranties cover both materials and workmanship
- Beware of unusually low bids indicating corner-cutting
Selecting the right contractor requires research and due diligence, but the effort pays dividends in repair quality and peace of mind. A properly completed roof repair provides years of reliable service, while rushed or improper work creates ongoing problems that compound over time.
| Key Point | Brief Description |
|---|---|
| October Deadline | Complete all inspections and repairs by October to avoid winter weather complications and emergency situations. |
| Shingle Inspection | Check for missing, cracked, or curling shingles and granule loss that could allow water infiltration during winter storms. |
| Gutter Maintenance | Clean gutters and downspouts to prevent ice dam formation and water damage to foundations. |
| Flashing and Sealants | Inspect and repair flashing around penetrations and reseal joints to prevent water entry at vulnerable points. |
Frequently Asked Questions
How much does a professional roof inspection cost?▼Professional roof inspections in the United States typically range from $150 to $400, depending on roof size, slope, and regional pricing. Some contractors offer free inspections as part of repair quotes, while others charge a flat fee that may apply to future repair work. The investment is minimal compared to the cost of undetected damage.
Can I repair roof leaks myself, or do I need a professional?▼Minor repairs like replacing a few shingles or applying sealant to small gaps can be DIY projects for homeowners comfortable with heights and basic tools. However, extensive damage, structural issues, or repairs requiring specialized materials warrant professional contractors. Always prioritize safety and consider professional help for anything beyond simple patches.
What happens if I don’t prepare my roof before winter?▼Unprepared roofs face increased risks of ice dam formation, water infiltration, structural damage, and energy loss. Small issues become major repairs when water freezes and expands, and emergency winter repairs cost significantly more than preventive maintenance. Additionally, undetected leaks can cause mold growth that creates health hazards and expensive remediation requirements.
How often should I have my roof professionally inspected?▼Professional inspections every three to five years catch developing issues before they become serious problems. However, annual inspections are recommended for older roofs, those in severe weather regions, and homes with previous leak history. Additionally, inspections after major storms, even without visible damage, identify hidden issues that could worsen over winter.
What are the signs that my roof needs immediate attention?▼Visible sagging, multiple missing shingles, daylight through roof boards, persistent interior leaks, and extensive granule loss indicate urgent repair needs. Additionally, sudden increases in energy bills often signal insulation problems caused by roof leaks. Addressing these warning signs promptly prevents catastrophic failures during winter weather events.
Conclusion
Pre-winter roof inspection represents one of the most cost-effective maintenance investments available to homeowners. By addressing shingle damage, clearing gutters, checking flashing, and resolving small leaks before October ends, property owners protect their homes against the compounding damage that winter weather causes. The relatively modest cost of preventive maintenance stands in stark contrast to the five-figure expenses that often accompany emergency roof repairs or complete replacements resulting from neglected problems. Taking action now ensures peace of mind throughout the winter months and preserves home value for years to come.
Written by
Lucas Bastos
Lucas Bastos writes about home for insider.onlyshein.com. Each article explains how things work, compares published details such as prices, policies and program rules, and points readers to the official source before they decide.